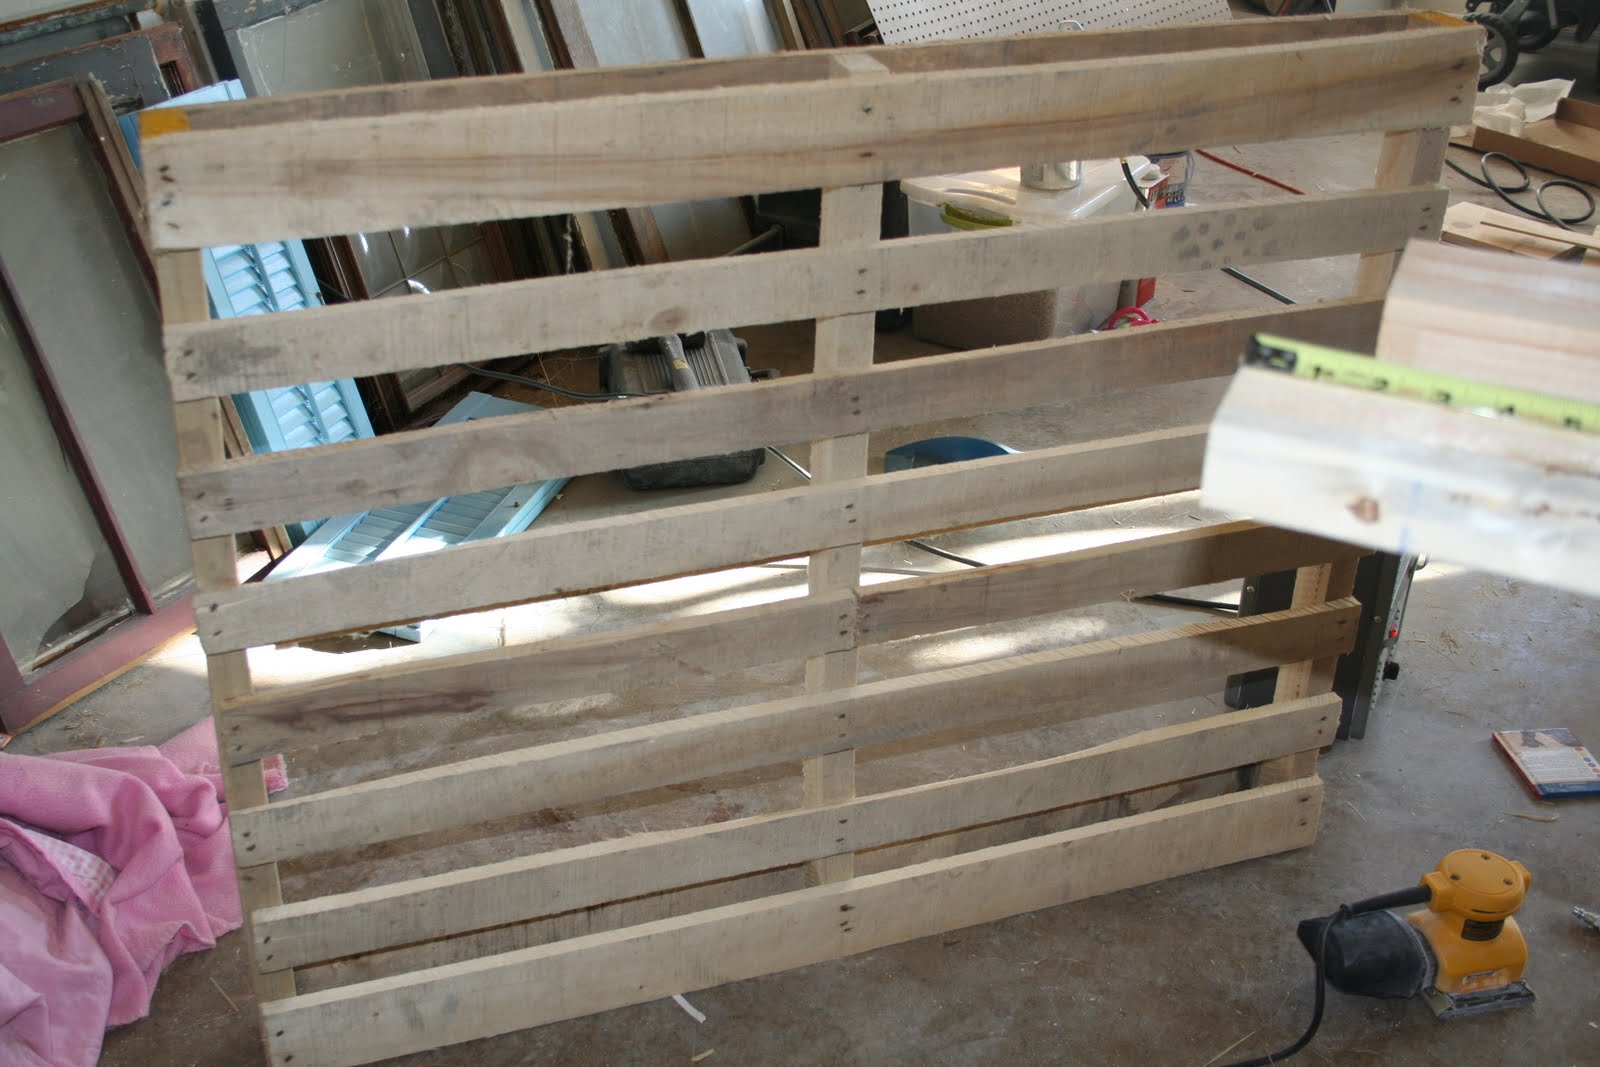
Saturday, November 20, 2010

Cheap Headboard

With any reno, I hate spending exuberant amounts of money on something that I know can be done myself and for much less. You can make this project for a grand total of $41 (Some of the materials I had lying around so it really only cost me $23!
I took one of these

And turned it into this

We framed off the pallet with a little help

We boxed the pallet off with 2x4s (not shown) This was done to make it the desired width and height as well as to stabalize it.
Then we tacked on some peg board to the open end to provide a completely flat surface (we had it lying around), this also acts as a stabalizer and helps to square it all off.

I then laid out the material and batting and lined up one of the sides and stapled it with the help of my soldier boy

I used good quality thick home decor material. I lucked out that it happened to be on sale!
The batting was the thickest I could find the package said it was 1" thick.
We stapled (thanks to my new nail/staple gun) down the right side then I strectched the material as soldier boy stapled the left side.
My soldier boy was having way to much fun!
The air gun blows a puff of air and I kept getting it in the face UGH!

Then I trimmed the batting on the corners and folded the material to get a perfect corner and started stretching and stapling all the way across the bottom. Then did the same on the top making sure to stretch it all out and checking every foot or so to catch any wrinkles or flaws.
(Don't mind the hair I hadn't showered yet!)
So there you have it! A spanking new, inexpensive head board!

NOTE: One could use a manual staple gun for this! They run around $10-15. It just takes a little more elbow grease but I have done it before and it works just great.
We learned the importance of squaring your base on this project and how to use something square to help fix your problems. It was a good precursor to the bed building we did next!

Friday, November 19, 2010

Surprise room makeover

For my daughter's (our Flittering butterfly's) birthday this year we thought we would give her a mini room makeover. We know we will be relocating this spring so we didn't want to paint the room. We stuck strictly to redecorating the room. She shares the room with the baby so we focused on her side of the room and will do our Ape babies half when we move her to a big girl bed.
Here are the befores

We had primed, and painted all the pieces to her bed prior to today. So as soon as she stepped foot on the bus we hustled into high gear and ran all day. We cleared out the room and disassembled her bed. Next we built her headboard (more on this in my next post), then we assembled the new bed, and then finished it up only moments before she got home (literally 30 seconds before she stepped of the bus).

She loves it!! She was totally surprised!

She couldn't wait to fall asleep in her new bed!

Tuesday, November 16, 2010

Naming our abode

Recently I have been reading a few books on decorating your home. One of them suggested starting by naming your space. It is easier to take pride in something you have put thought into, and made your own. I by no means follow any decorating sense! I am so clueless but liked this idea.
My husbands family grow up in the "Hill"ton (Hill being the last name) but not something we could use here. While I was on the lookout for something to name our abode I received a note from Aunt Joann. She shared her fond memories growing up of raising chickens (a recent adventure of ours) and how they named their chicken coop.
Feeling very much like a mother hen trying to gather her chicks constantly and shielding them from the worldly storms brewing around us I felt it fitting to let the coop's name live on. Two generations later...we have named this coop

the Roecker Roost

Wednesday, November 10, 2010

Low Fat Corn Chowder

Ok so I think we are over the sickies, I have disinfected and caught up on my sleep and my laundry. I have been avoiding the creative side of me because I am a bit overwhelmed with the Flittering butterflies room makeover due to happen next week for her birthday. I just need to start plunking one project a day out for it and get a move on so it will get done.

My Boys have been begging for me to craft with them! So one yesterday they went out to the garage and decided to take things into their own hands. They found a few pieces of scap wood and build these BY THEMSELVES!


My soldier boy helped them tape the sail on. These are the most perfect bathtub toys!!

The weather in Southern Oklahoma has started to cool off putting me into a soup kick. Huge batches of soup have been cooking in the crockpot all week long and what we didn't eat now fill the shelves in my freezer.
My favorite soup recipe is one I have for Low fat Corn chowder

You need
1 carton Chicken broth
3 cans cream corn (or canned corn pureed in the blender)
1 package Candian bacon (8slices) diced
1/8-1/4 cup Dehydrated onions
1/4 cup dehydrated carrots or 1cup diced fresh carrots
3-4 cups hashbrowns
1 can fat-free evaporated milk
Salt, pepper to taste

Dump all but the evaporated milk into the crockpot stir and turn on high for about 4hrs. Remove lid for last 30minutes to thinken it up. Unplug and stir in can of Fat free evaporated milk. Replace lid and let sit while you set the table and gather the family. Enjoy!


Thursday, November 4, 2010

Sicklies

I have three sickies this week!
It has been one of those weeks I am glad I was prepared for.
Two with pink eye, all but one have thrown up, one with Bronchitis, and one with a double ear infection. Every 8 hrs I set up an assembly for the ones taking meds. So far my flittering butterfly is the only one in good health. (Knock on wood)
I am working on some fun projects I can't wait to finish and share! First things first I need to get these kidlets healthy again. Hope to see you by early next week with a fun project I can't wait to share- a family memory will live on...